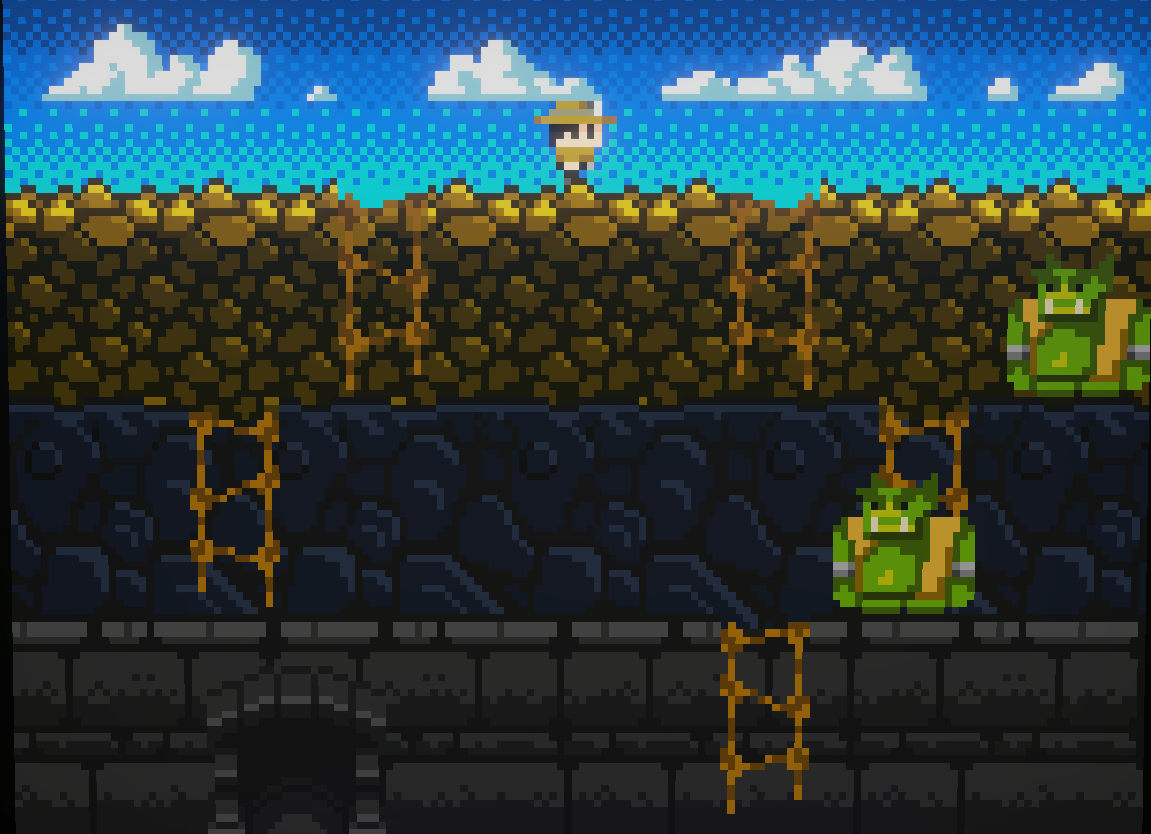
The biggest project I worked on during my time as an intern at HXRC was a 2-dimensional arcade game-within-a-game (a minigame) with retro graphics. The foremost challenges with it were rendering the pixel art crisply in unity, producing the sounds and music and implementing the game logic, which included rendering the game’s elements separately with an additional camera onto the game cabinet’s screen.
The game inside which my game would be placed was one built for teaching the fundamentals of programming to children. In it, the player would venture through 5 carriages of a train in transit, while solving problems from a coding-oriented perspective. My game would only be a momentary distraction, offering some fun and challenge before rewarding the player with a clue for another puzzle.
Favor the big picture, not the details
The name of my game had already been pre-decided as “Trollbunker”. I came up with two game concepts that I felt had some resemblance to the name and presented them to the project leaders. One had a starship moving up and down where the player was supposed to time their laser shots so that they’d hit enemies. The twist was that the game world was color coded red and yellow: the player could change the color of their ship, which would affect the player’s actions and their consequences in the game environment. The other game featured a spelunking miner who ventured deeper down into a bunker (more like a cave, really), while avoiding trolls. The challenge came in the form of choosing the right path down since taking a wrong turn, perhaps as a result of ill-advised decision making, would result in getting stuck or worse, being “eaten” by a troll. The project leaders felt the former option was more interesting and thus would distract the player for too long, which I had not even considered! I’d gotten so absorbed in my own minigame that I forgot to see the bigger picture. Good lesson. The latter option was chosen.
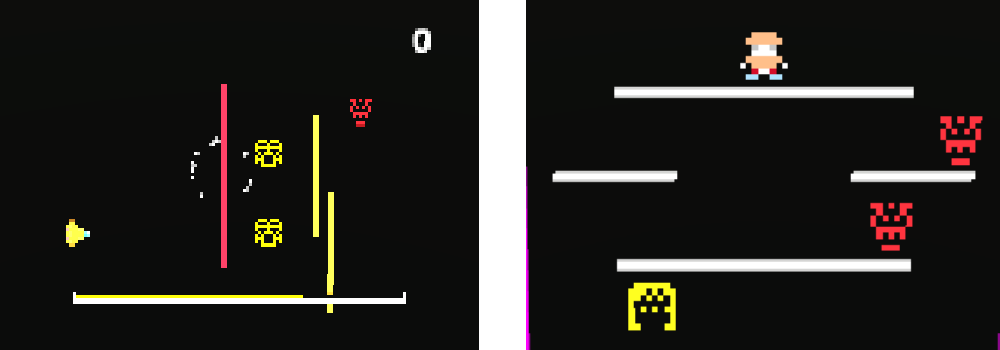
Both game concepts’ prototypes. The spaceship game (left) and the cave explorer game (right).
“Forget the compression!”
For pixel art, I used a free online image editing program called Photopea, which was actually a pretty revolutionary discovery for me—for all intents and purposes, it’s a free, (slightly leaner in features) in-browser Photoshop! I started with creating 2D images called “sprites” for a main character, an enemy and the game’s background. The first hurdle with getting Unity to render pixel art correctly is to disable all compression and image filters, which results in that crisp, jagged, pixelated edge people know and associate with pixel graphics. The next step was to animate the characters.
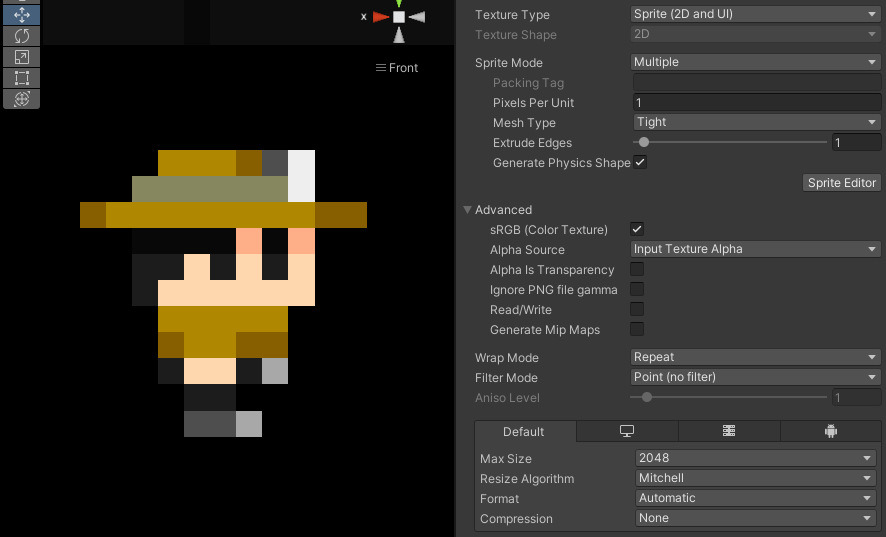
The import settings of the player sprite. Note the filter mode and compression settings.
Sprite animation works by switching between separate sprites, like frames in traditional hand animation. A good optimization trick is to import many frames in a single image file, simply laid next to each other. I used png files, since they allow for transparency. The frames can then be sliced apart using Unity’s sprite editor package. After this, I made animation clips for each character action that required one. In the animations, the character’s sprite gets changed to the next one roughly every frame, creating the illusion of movement.
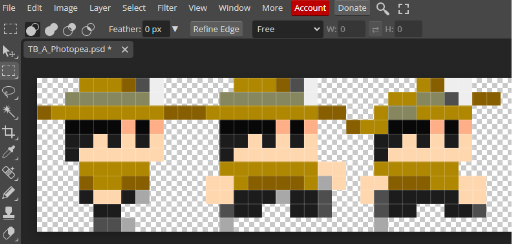
The running animation of the player, as viewed in Photopea.
What do pixels sound like?
For an appropriately pixelated sound, I used a free synthesizer called “bfxr”, which produces chip tune style, lo-fi beeps, chirps and bloops, perfect for retro games! The synthesizer includes a few presents which randomly create sounds such as “coin” or “jump”, whose output can then be fine tuned with a plethora of sliders.
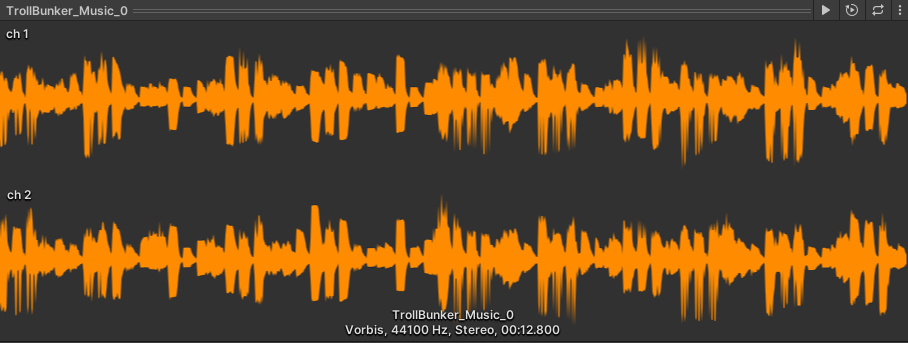
The waveform of Trollbunker’s main theme. Looks repetitive but I promise it sounds good!
I used Logic Pro X for music production, which is a digital audio workstation (DAW) for MacOS. However, for such lo-fi sounds any DAW would do such as Cubase, FL studio or even my favorite, the free and ever-so-crappy Linux Multimedia Studio (LMMS). All those three work on Windows PC. It’s just a matter of what one’s used to using. I wanted to create two musical themes, one for the menu and one for the game itself. I started with sketching musical themes using simple waveform instruments (bleep and bloop sounds). I went through perhaps 4-5 themes before I had something I was happy with for the main menu. For the game music, my first sketch just seemed to be a bit of a banger, so I went with it, tuned and polished it (enough, anyways) and exported it out. My main goal was creating something decently singable and memorable for the menu theme, and something less singable but way more groovy for the game theme since I wanted to really set the mood with the music.
Canvas to camera to texture to screen
There was an existing prototype game built around the arcade cabinet my game was supposed to go into, but there wasn’t much to reuse with that. Granted, it was a nicely done little physics-based destruction game, but it was in 3D and all its elements were physically housed behind the arcade “screen” (window).
My game was in 2D so I had to figure out a way of allowing the player to play a 2D game inside a 3D game. I set up a system as follows:
- The whole 2D game is rendered on a world-space canvas far away from the 3D
game and the sight of the player - There is an additional camera that points to the world-space canvas, whose
camera output is mirrored to a render texture asset - The render texture is set as the color map of a “screen” material
- The actual monitor of the game cabinet uses the “screen material as its material
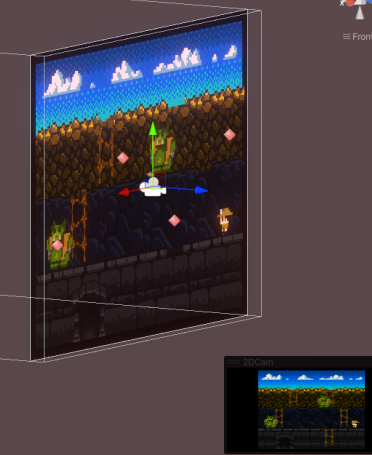
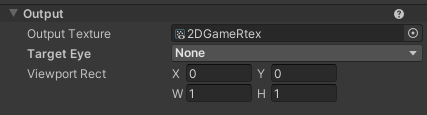
The additonal camera viewing the canvas in Unity (above) and the camera component’s output field (below).
With this, anything that happens on the canvas is also seen in the game cabinet screen in real time! There was a lot of tweaking around with finding a good size for my sprites and the render texture, but I settled at a 160×120 pixel screen resolution with a character of 11×11 pixels. I also had to disable anti-aliasing (edge smoothing) and set the filter mode to “point” for the render texture just to keep everything sharp and pixelated.
Those are the most important learnings I had from this project. My time at Helsinki XR Center was very educational and I’m thankful for the opportunity to work on a project with Yle, the finnish national broadcasting company.